Watercolor Course
"Not Just Water"
Do you want to learn how to paint water in watercolor? Realistically convey and simplify waves in the studio and outdoors? Have all the ways of depicting Water in your creative arsenal ("wet", "dry" and in fragments)? Know how to work with any water reference that you make? Join the creative process with a supportive team of like-minded people? Are you ready to work hard to master skills that will stay with you for a long time? Then this course is for you!
About the course
I called this course "Not just Water" because it will not only be about Water.
Together we will learn how to LEARN INDEPENDENTLY! I will show you how I work on any new topic. We will study the works of artists who paint water and a large number of completely different references in order to find analogies, see repetitions. And in accordance with this, build a system, structure, plan and understand how
"Not to be afraid" of any plot with Water. All this is necessary in order to know your steps at the beginning, and in the process relax and trust your experience, and not vice versa: to be confident at the beginning, and then get lost and correct everything many times. Together we will build a solid knowledge of the topic of Water
throughout all 2 large theoretical and 4 practical lessons.
And you will see a detailed description of the lessons below.
The most important thing in my teaching is that you learn to learn yourself, feel confident in your personal works and develop your unique creativity. I wish there were more happy artists who are satisfied with themselves!
I believe in you and wish you good luck! See you on the course!
The work we will do with you
during the course
(click for a closer look)
Course teacher
Brand Friend Winsor&Newton
Member of the Union of Watercolorists of Russia. Member of the Association of Plein Air Painters of Russia.
Creator of the book “Watercolor for Adults”.
From 2017 to 2022 she conducted more than 37 plein airs in 17 countries. (Great Britain, Austria, Spain, Italy, France, the Netherlands, Nepal, India, Georgia, Montenegro, etc.)
Anastasiya Kustova
Course program
Greetings
course content
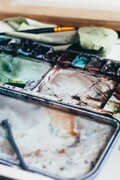
Introductory lesson. Materials
In this lesson I will tell you what materials you will need in the course. What analogues of paints and paper can you use.
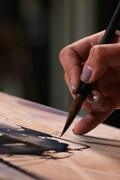
Lesson 1. Theory of drawing water. 3 simplified types of images. Analysis of works by famous artists.
The main lesson of the course. Together we build a base of understanding how to depict water. What options and combinations of image options exist. We study the works of famous artists, look at various techniques. The main thing in this lesson: a structure that allows you to analyze any of your references in the future and understand "which side to approach". How to start working and complete a watercolor painting as successfully as possible. Make a plan in advance so that in the process you can enjoy only the process.

Lesson 2. Analysis of a large number of references. Their analysis. Understanding the steps and actions for the image.
Learn to LEARN INDEPENDENTLY! I am sharing with you how I learned and explored watercolor and drawing myself. It is very important that every time at the beginning of a new work you do not have the feeling "I don't know how to depict this". So that you already have your personal archive of water images. And, even in the open air, when it is impossible to stop Water, you could get the necessary option from this database. This is what is called a "unique style".
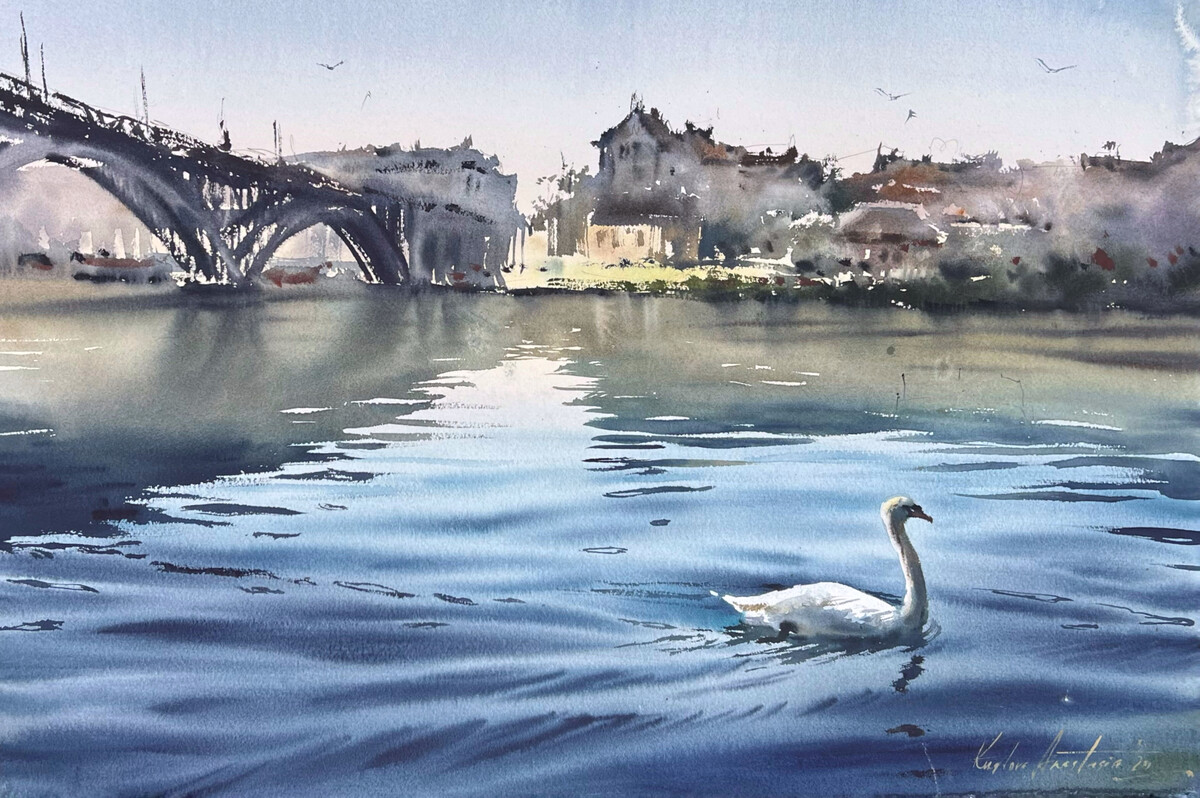
Lesson 3. Swan on the river. Water when wetted on both sides. Tonal sketch and practice.
In this course, we don't just draw a reference, we follow the steps you should take when you start working. I show what is usually skipped: analysis by tone, analysis of complex areas and color selection. And only then do we draw a landscape. If you are already an experienced watercolorist and are moving towards your creativity, then choose any similar landscape to draw. Such work will be much more effective and in case of a successful result, you can easily use the work for an exhibition or competition. Which does not happen when repeating the artist's plot.
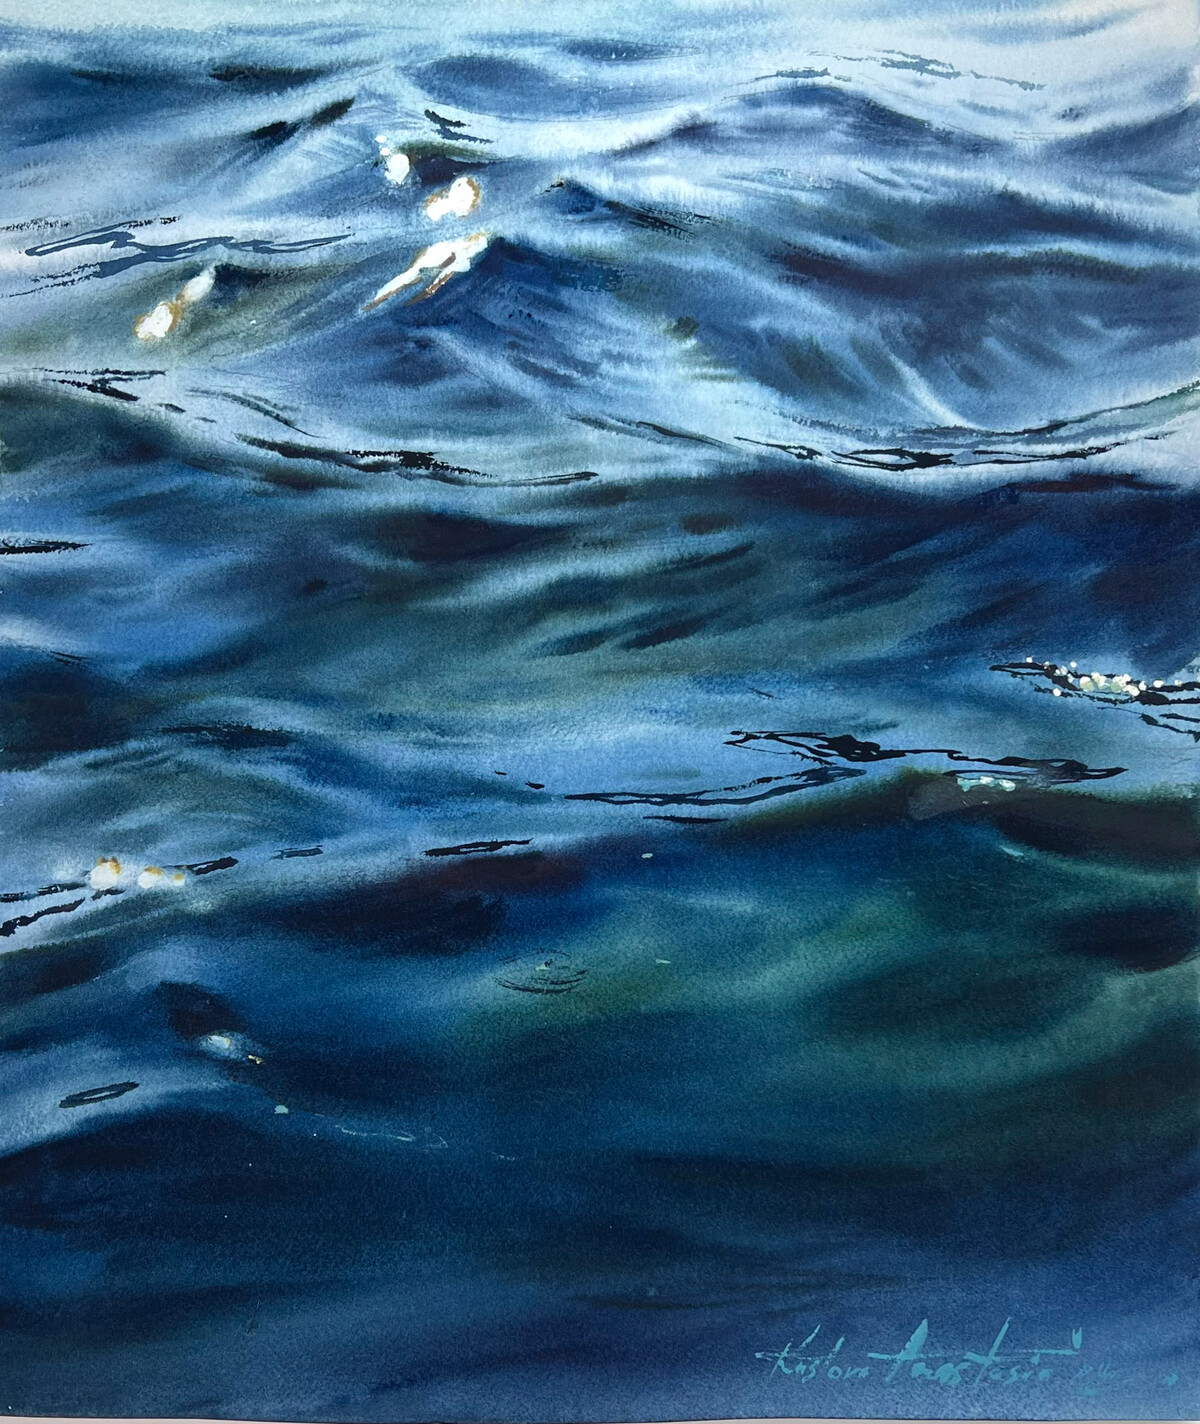
Lesson 4. Water fragment. We draw "dry" with "fragmentary" wetting. We learn to control tone.
In this lesson I show you the second way of depicting water. We draw, wetting only one side, in fragments. We analyze and understand for which subjects this method is suitable and where we can use it. We also look at the works of famous artists working in this technique.
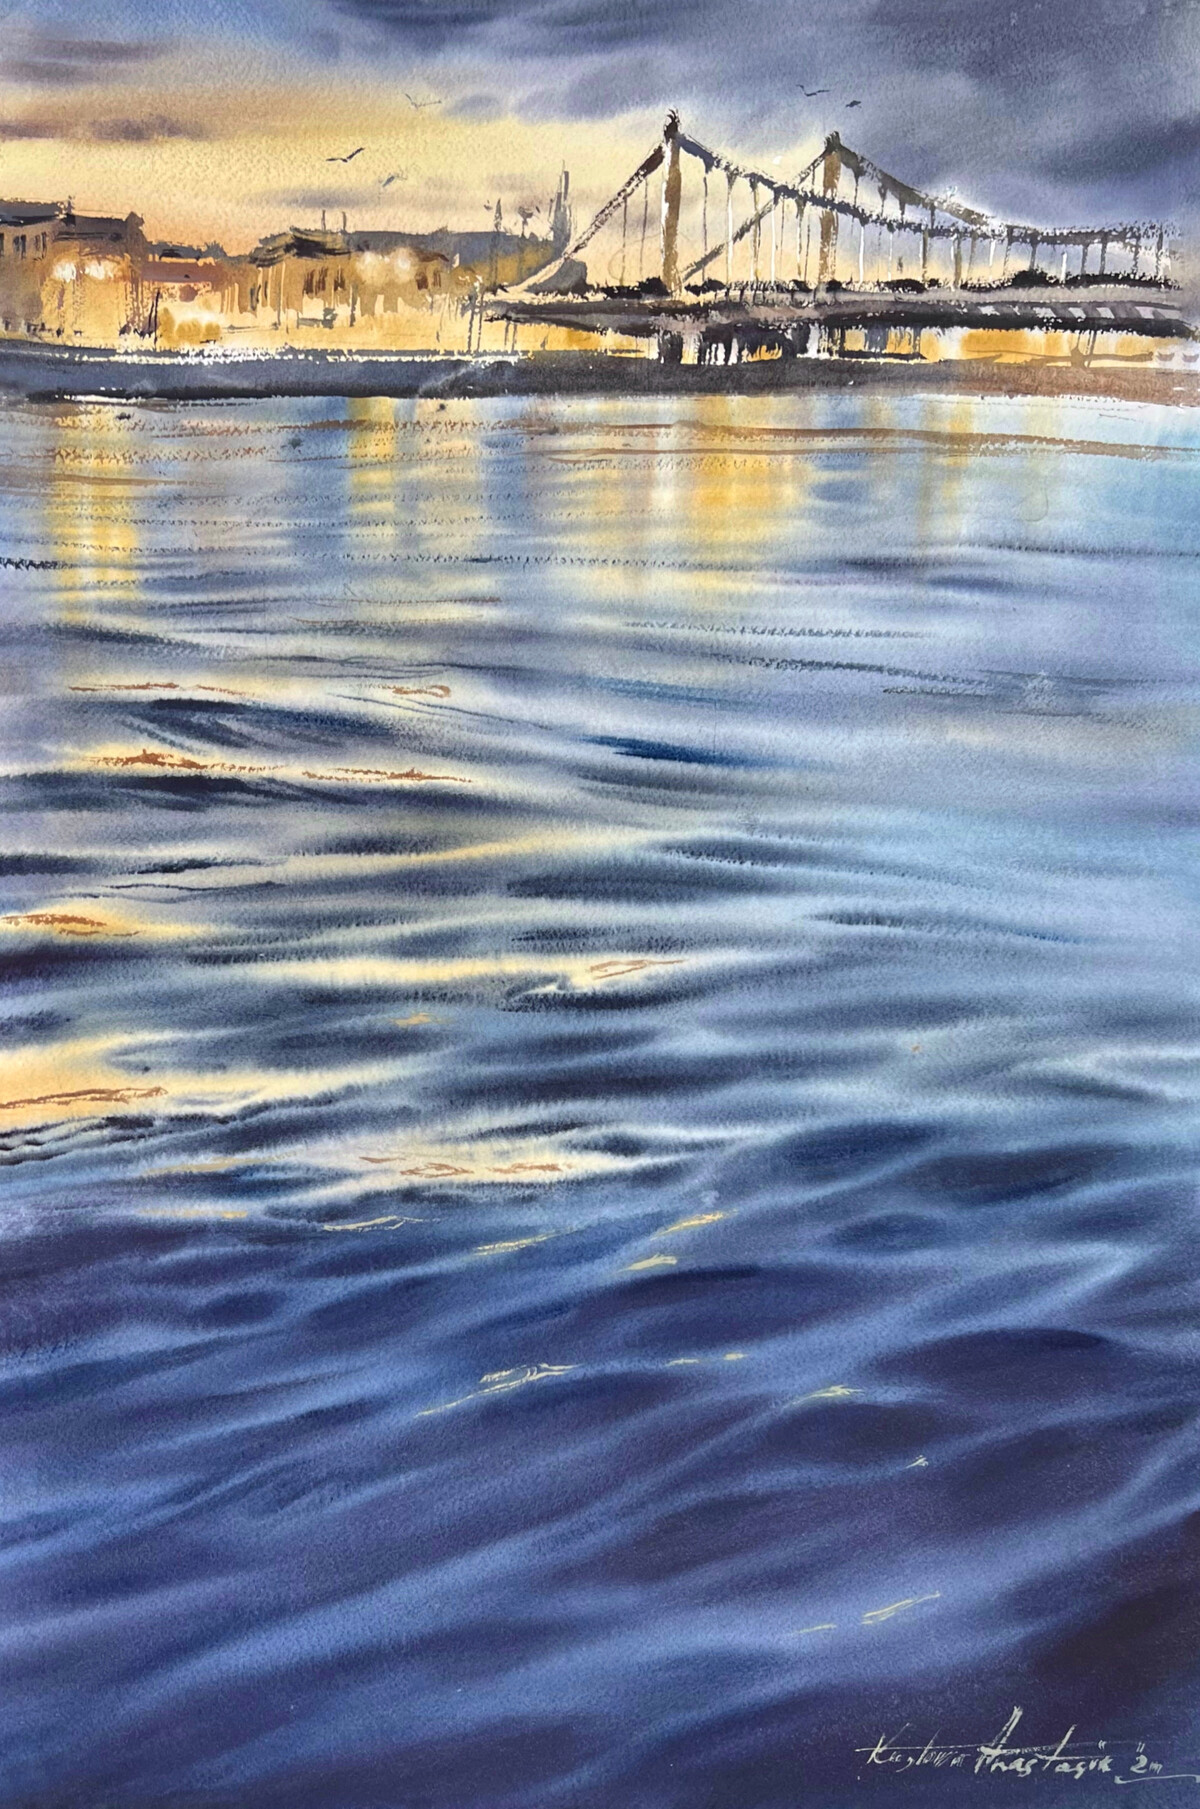
Lesson 5. Moscow at night. Wetting on both sides and on one side and combining these techniques.
In this lesson I will show how to depict water with light and warm highlights, so that yellow does not merge with blue and does not turn into green. We will learn to "juggle" all the techniques to feel as free as possible when drawing water and understanding the plan of action.
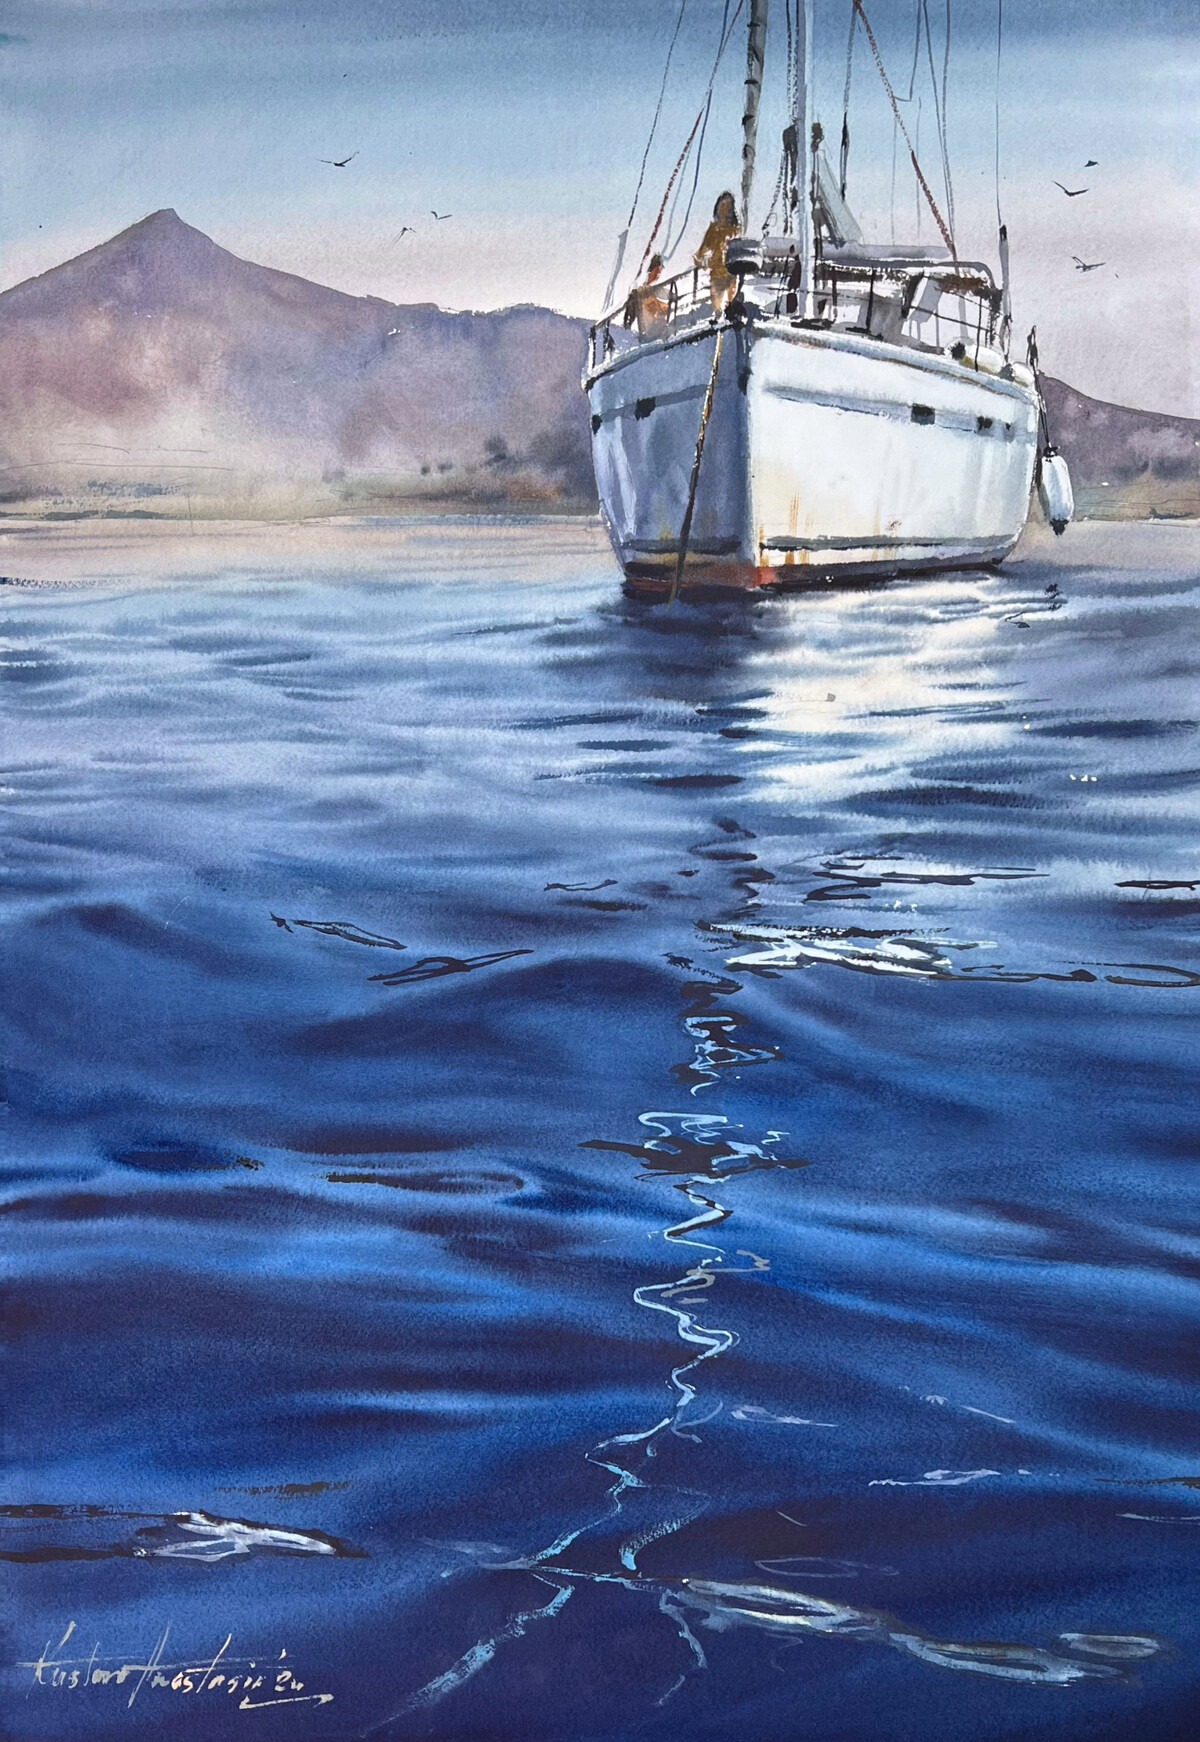
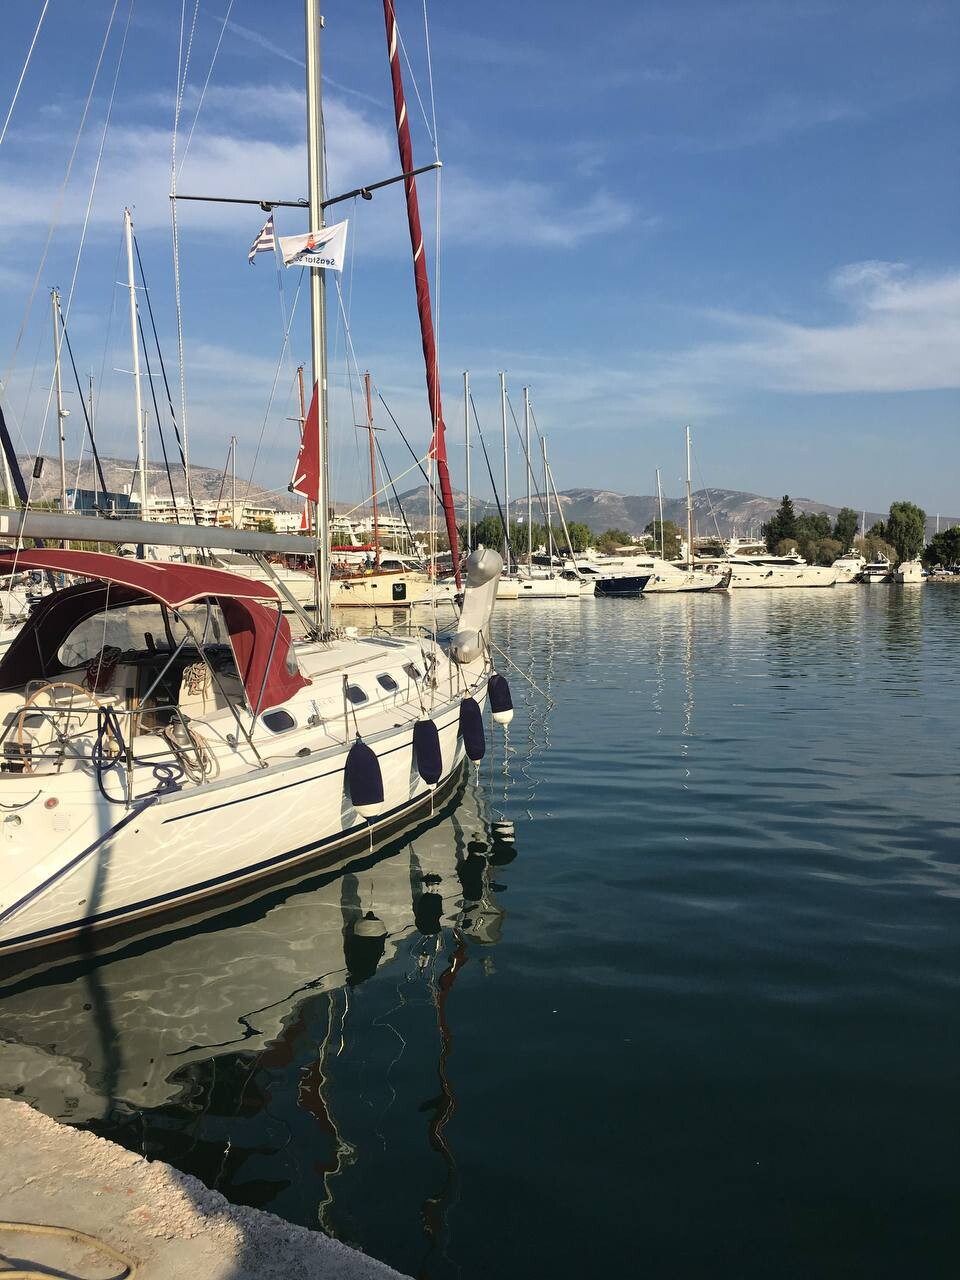
Lesson 6. Yacht on the water. Drawing ON THE TABLET
In this "bonus" lesson, we will stretch paper on a tablet and draw an interesting plot using the "from a piece" technique. This is not an easy, but very important skill of understanding the tone right away in the moment. If you have never stretched a tablet, then I recommend that you definitely do it and try it. These sensations from the work are completely different from working "dry", "wetting from both sides", but it is better to try once than to hear a hundred times. And this is a great opportunity
7 Lesson. Independent practice.
In this lesson I offer you several additional references for independent practice. Of course, it is better if you choose your own photos. Remember that it is your own choice - tone, color, composition, that will help to consolidate the skills acquired in the course. I wish you good luck and success!
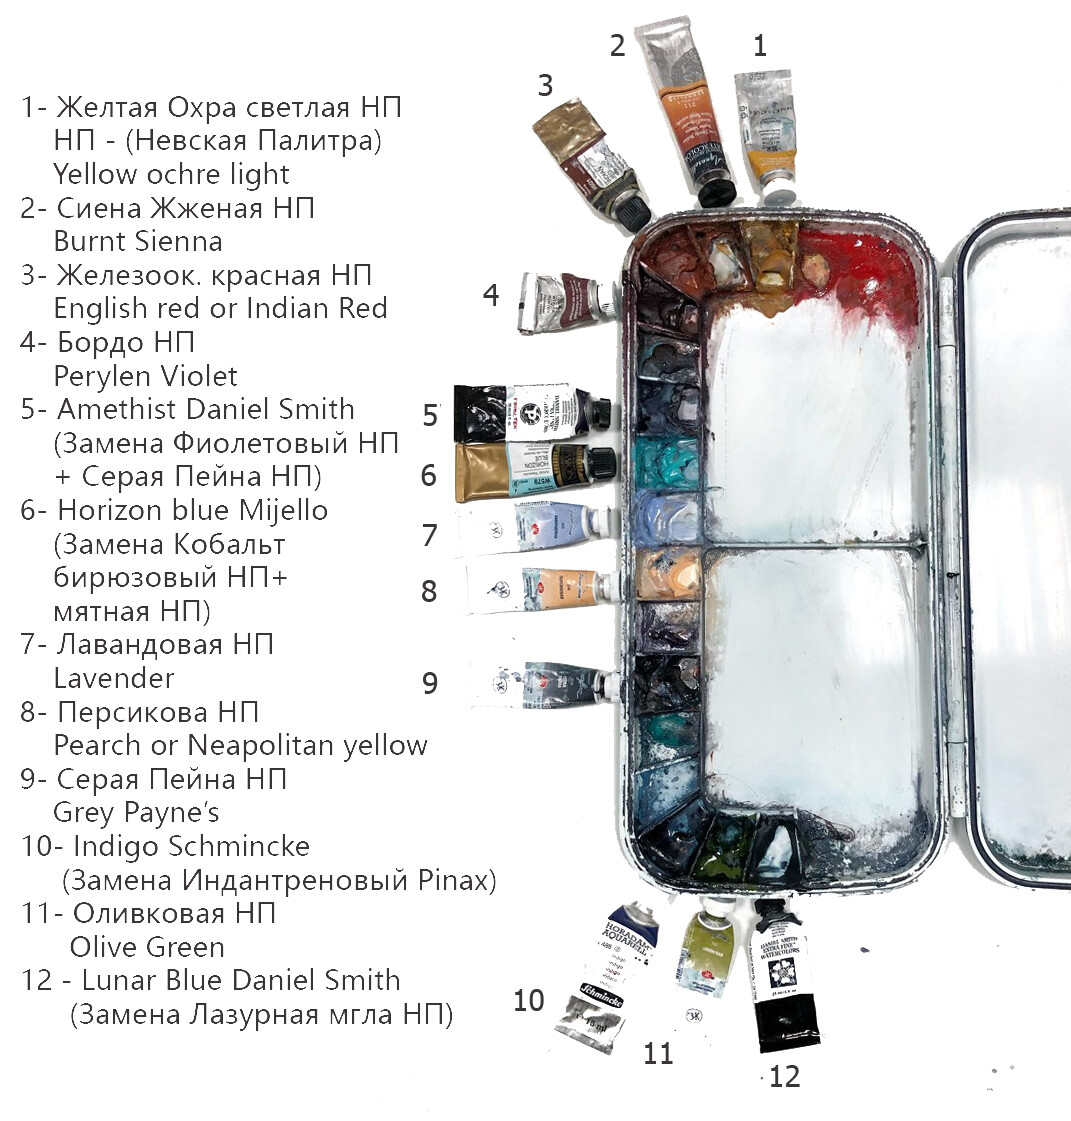
Paints
Above are the colors and palette of Anastasia with analogues in the Nevskaya Palitra. But remember that you can use your palette if you know it and are confident in it, taking into account only the comments on the use of warm and cool colors that Anastasia always makes during the lesson.
COURSE MATERIALS
Brushes
- Goat flute 30-40 cm
- Large synthetic / squirrel mix / calligraphy brush
- Light synthetic for details
- Flat wiping brush
- Fan brush for correcting mistakes
- Synthetic masking fluid brush
Paper
For this course you will need 100% cotton cotton paper
(it is advisable not to use Saunders Waterford, as we will be working in the rubbing technique, and this paper does not allow this). Of course, you can use any thick watercolor paper you are familiar with, but keep in mind that the effects may differ from Anastasia’s work.
Format no less than 30x40 cm
Preferably 38x56 cm, otherwise the effect of drawing drops on a small format will not be the same.
Other materials
- masking fluid (НП, Pebeo, Winsor& Newton? Sennelier)
- Melamine sponge
- A plastic tablet no smaller than your paper size
- pencil 2 В
- eraser
- water container
- paper napkins
Creating your own works
The main goal of the course is to explain the principles of working in watercolor techniques with a new topic, which will give you your own freedom in drawing. You will not just copy the work of the teacher, but will learn creative thinking.
WORKS OF COURSE STUDENTS WILL BE APPEARING HERE SOON!
5900₽ = 30 939₸ = 60$ = 58€
ACCORDING TO THE STATUS OF THE RATE AS OF 25/12/2024
PAY ATTENTION! DUE TO THE FEATURES OF THE PAYMENT SYSTEM, PAYMENT CAN BE MADE IN KAZAKHSTAN TENGE
5900₽
4 practical and 4 theoretical lessons (more than 12 hours of training videos)


IF YOU HAVE ANY QUESTIONS, PLEASE USE THE FEEDBACK FORM BELOW
OR EMAIL info@art-kustova-school.com


